My Hand Made Video Game Frame
2014-10-26 19:32 - Making
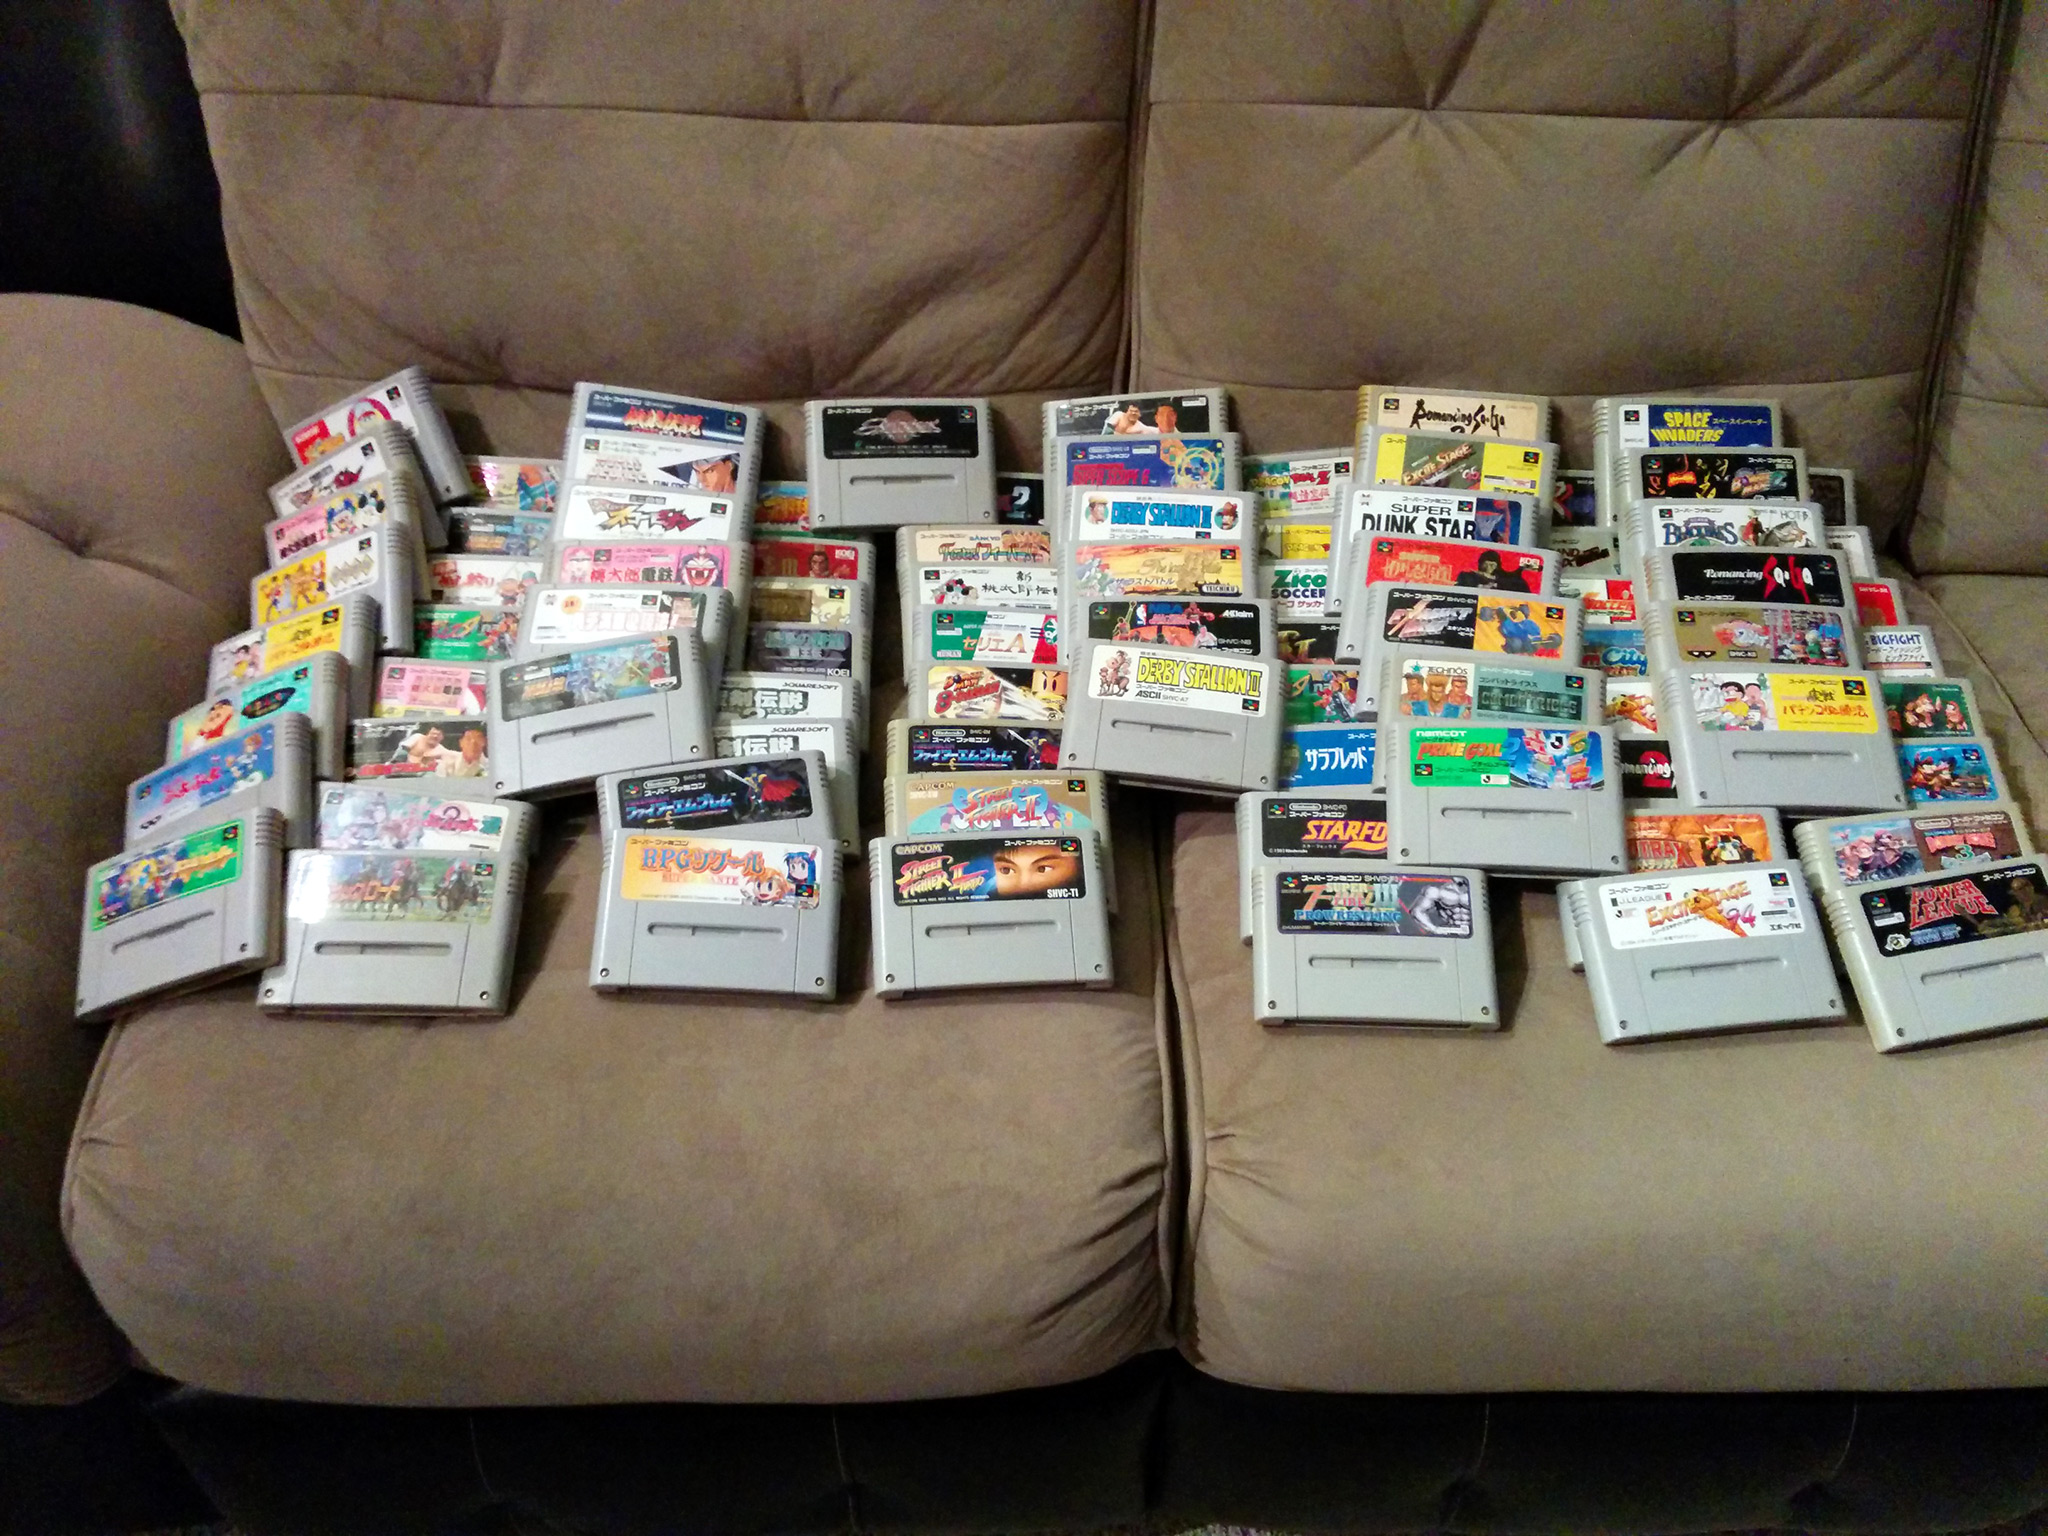 A while back I got a giant lot of one hundred cartridges for the Japanese game console Super Famicom. I wanted quite a few of them, some for collecting, some to play. (They work in a standard Super Nintendo, with just some small modification to make them fit.) But the rest had less of a purpose. But I noticed that the labels were colorful and fanciful, especially the ones with little to no English on them. I decided to treat them like art.
 A router with table, $50 from CraigsList, was necessary to make this project work. The plan was for a lot of long dado grooves for the cartridges to fit in.
 The first step, with some scrap wood, proved the idea. I put some grooves in the scrap pieces (cut to size) and clamped them down at the proper spacing. It worked!
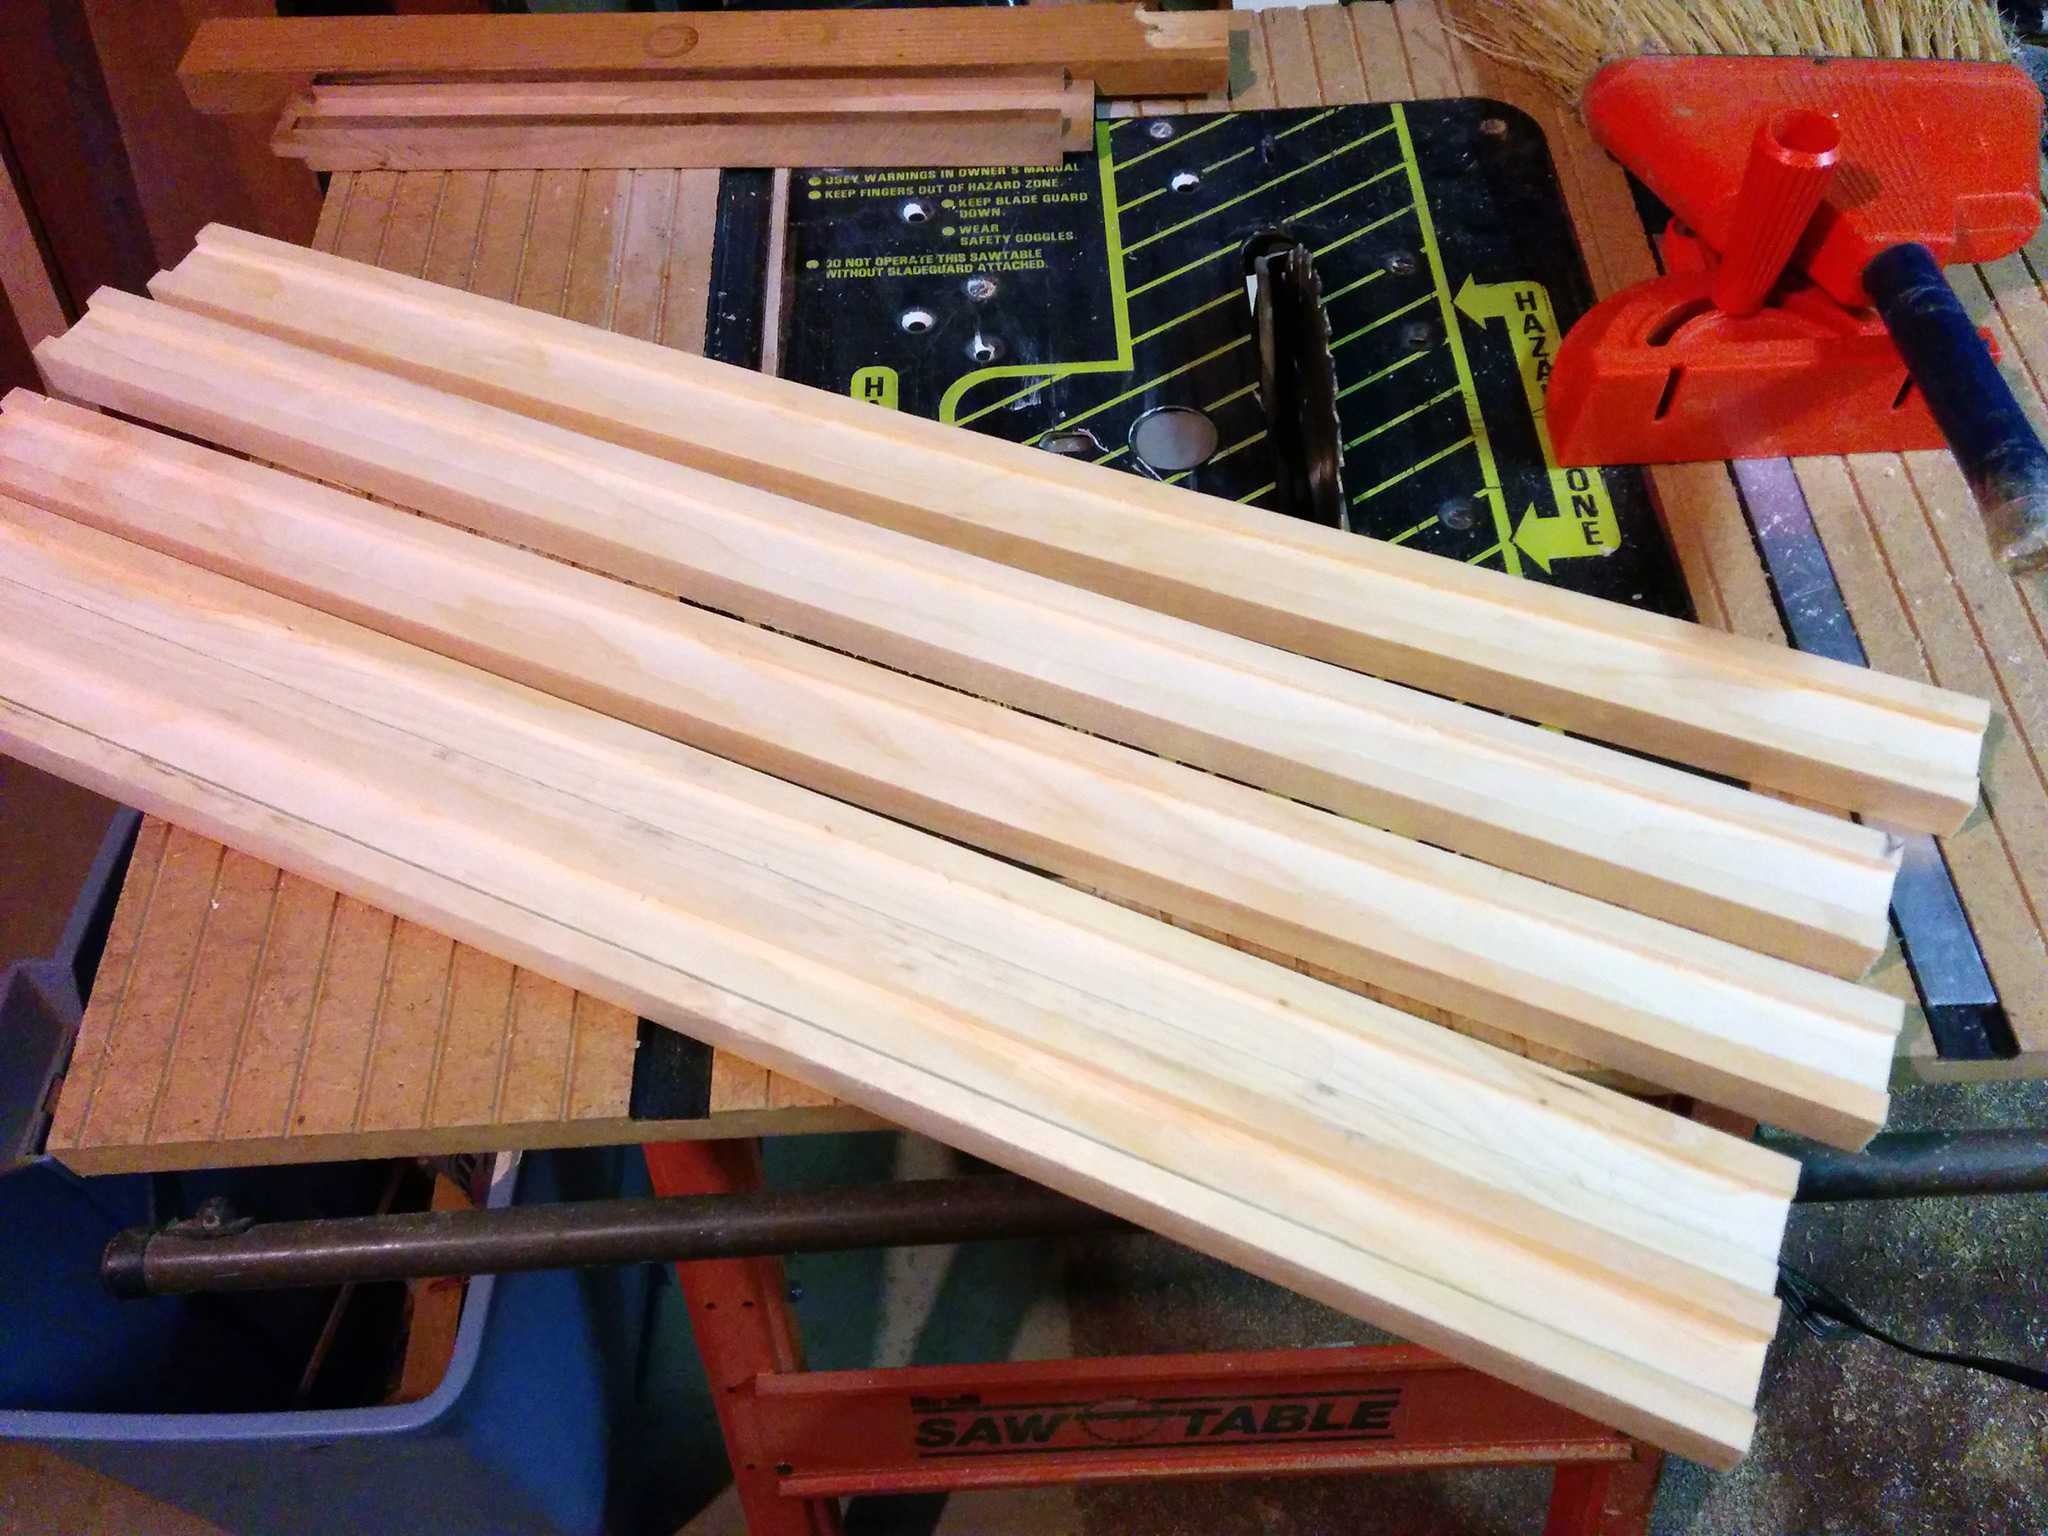
 So next I cut out all the horizontal rails to the proper length. By hand, so they weren't perfect. Next, clamp them together and sand the ends to make them exactly the same length.
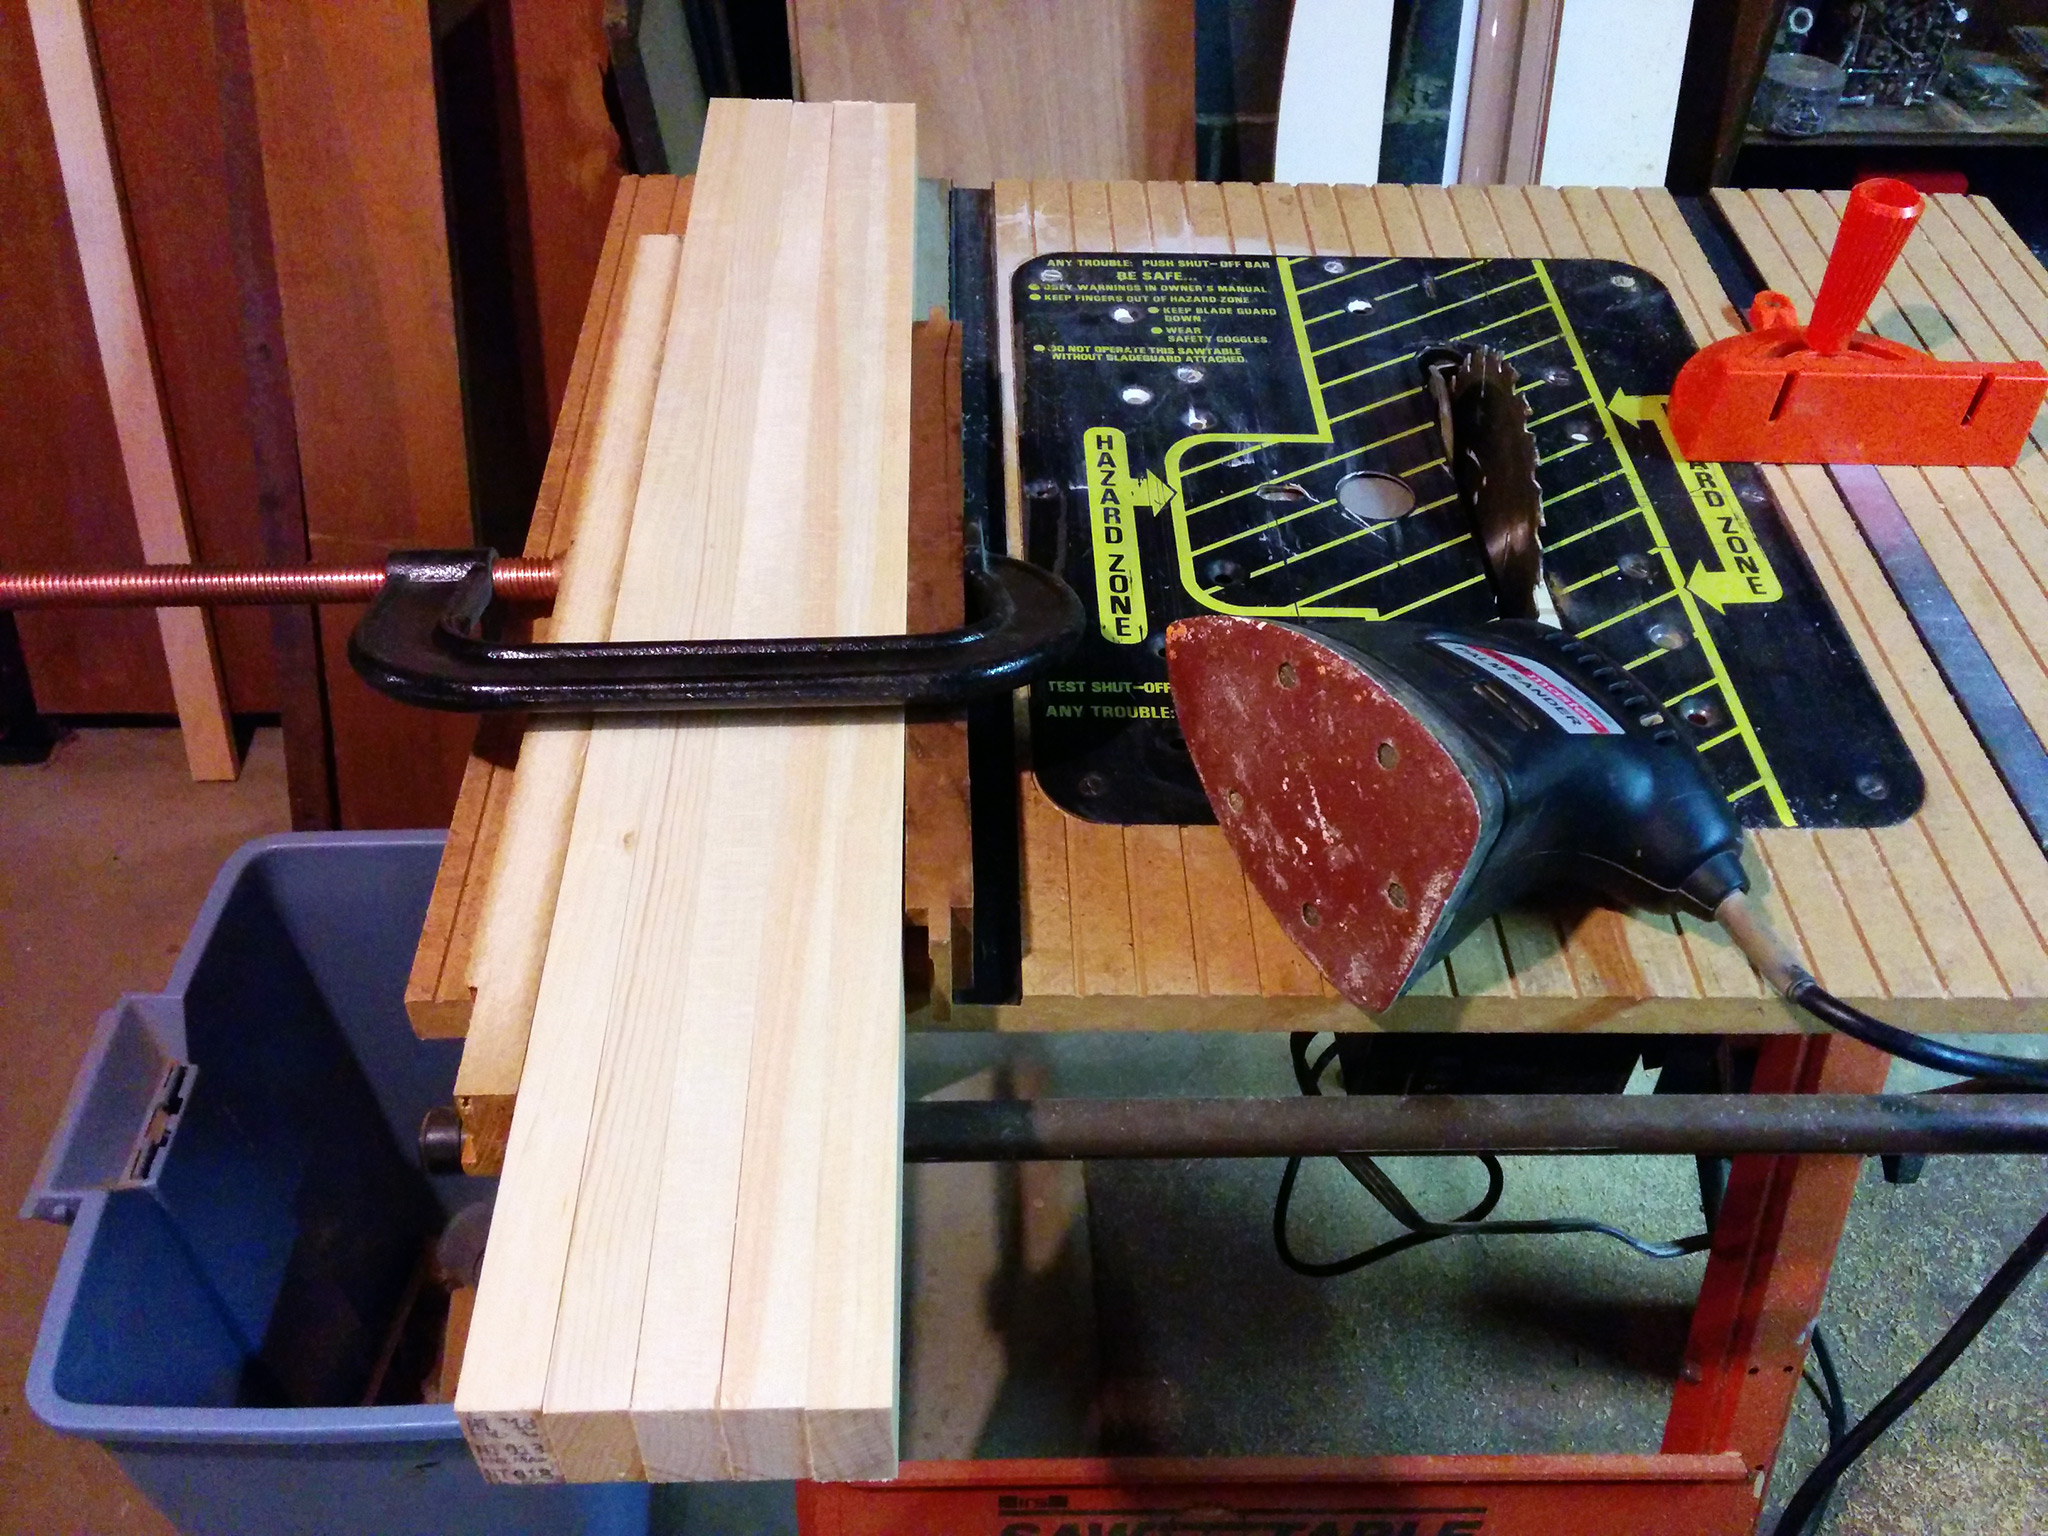
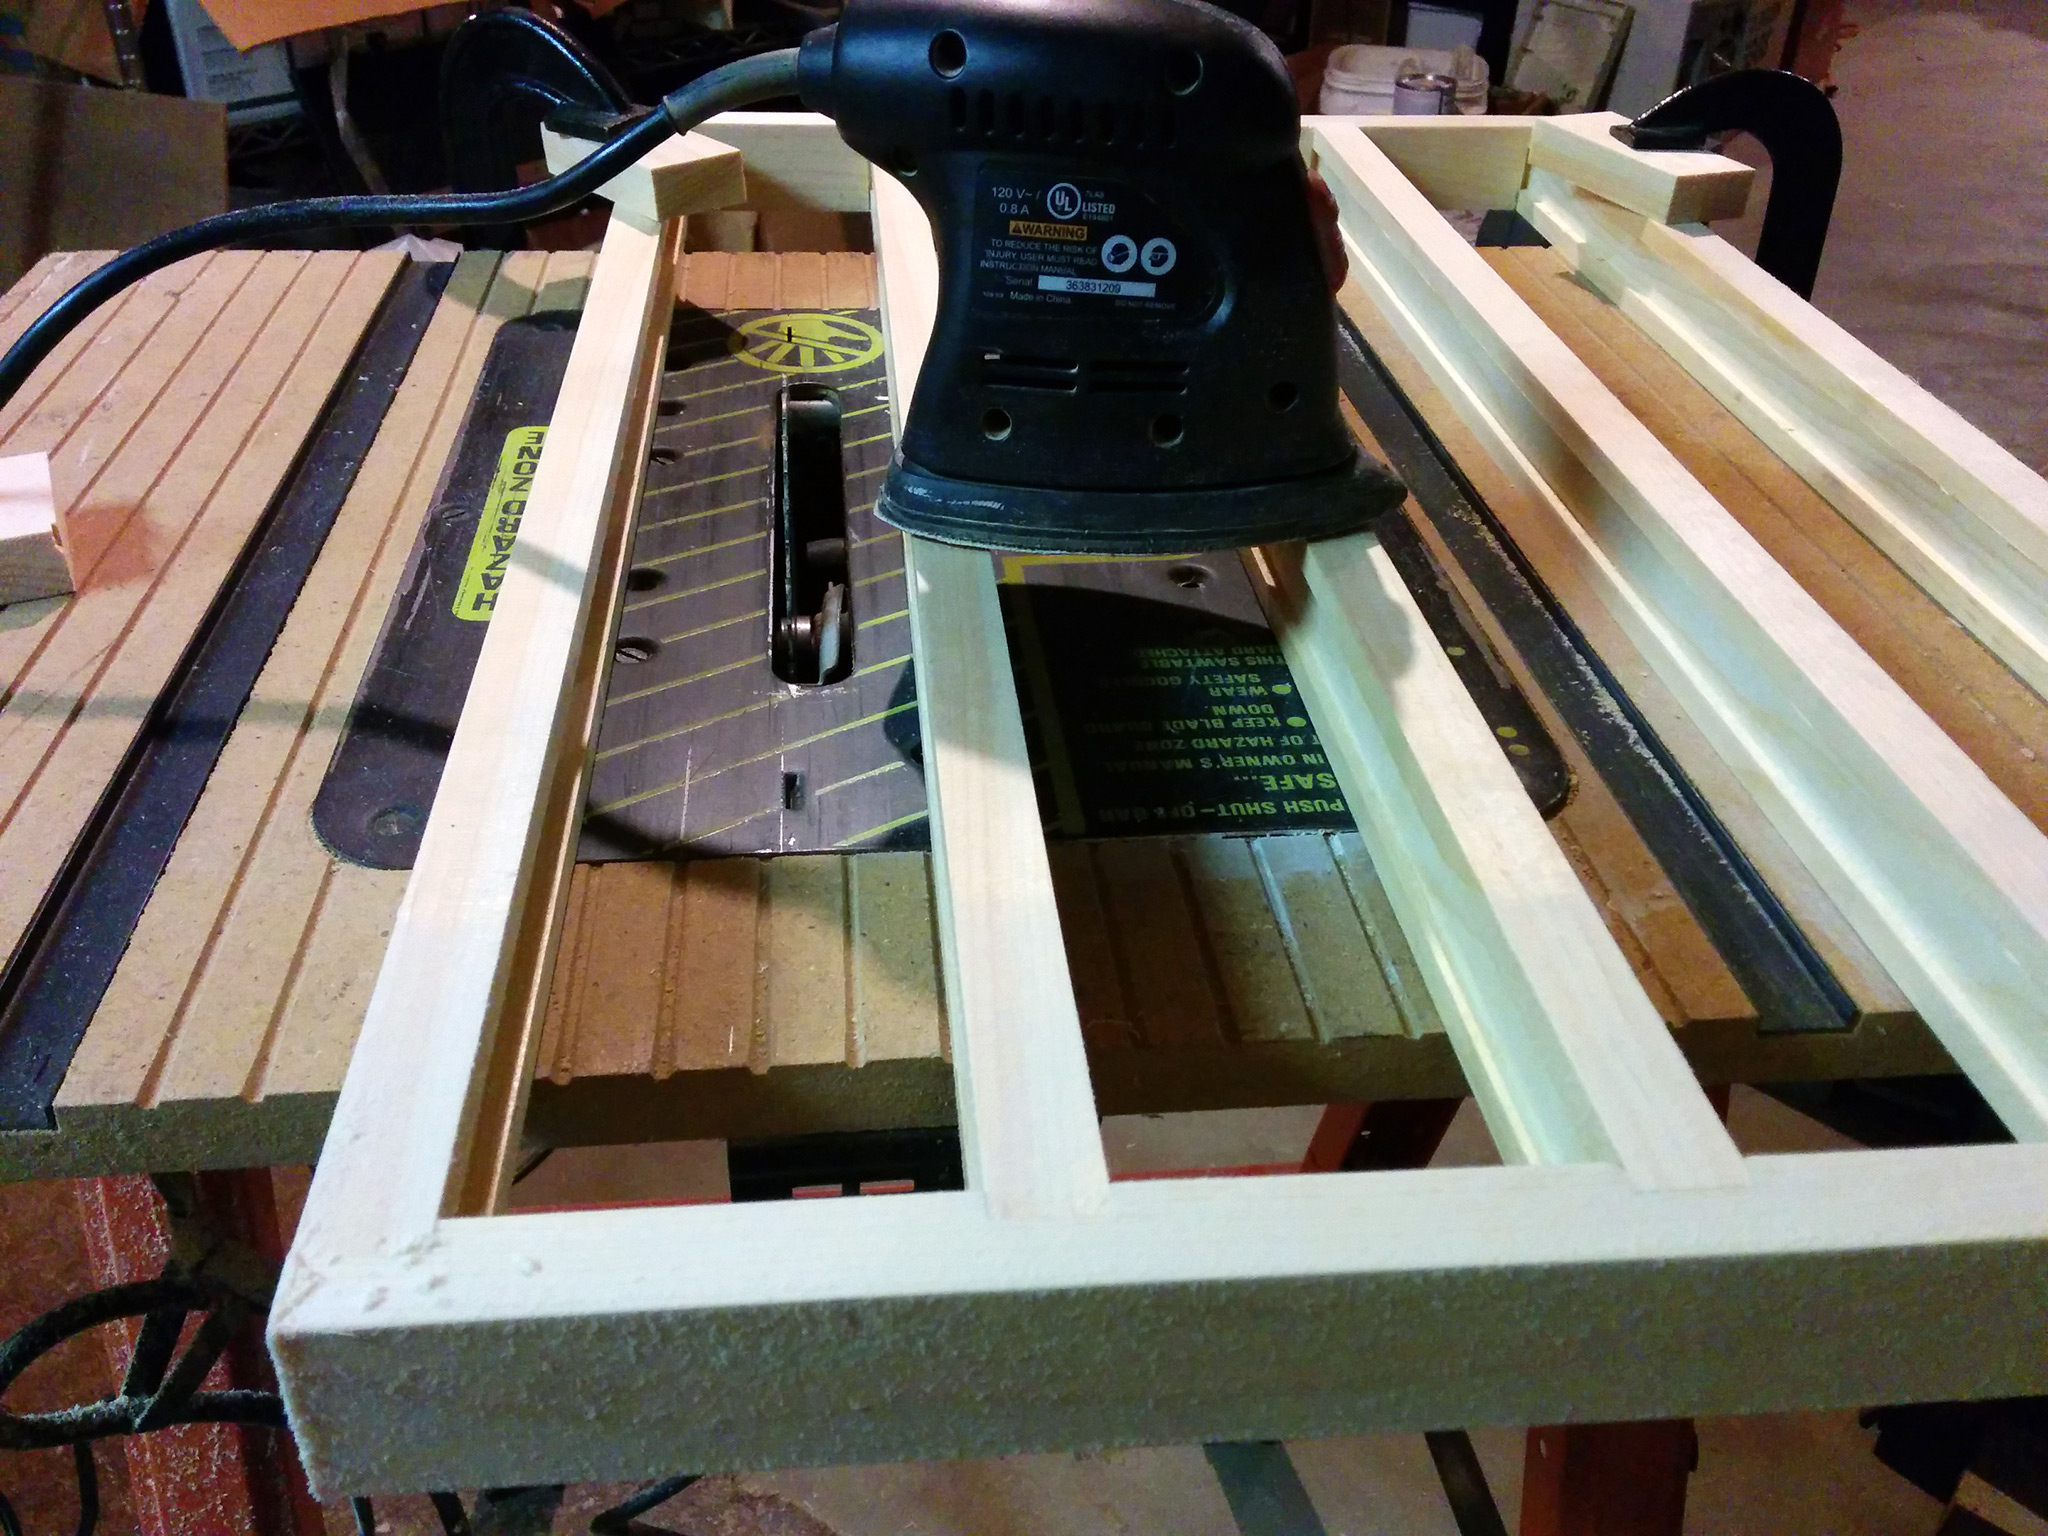
 Then the rails were routed. Pro tip: set the proper depth of material to keep, then route the same piece from both sides. The groove ends up perfectly centered.
 Here's the routed rails again, from their ends. Notice that each rail has one shallow groove, and one deep groove. Again, the shallow groove goes on the bottom. The deep groove goes on top, spaced to leave just more empty space than the bottom groove. When the cartridge is lifted, it's now out of the bottom groove and can tilt out.
 The sides were cut with dados to accept the horizontal rails. (This was hard, I screwed up the first one, but thankfully had enough spare material left.) Time to do a dry fit.
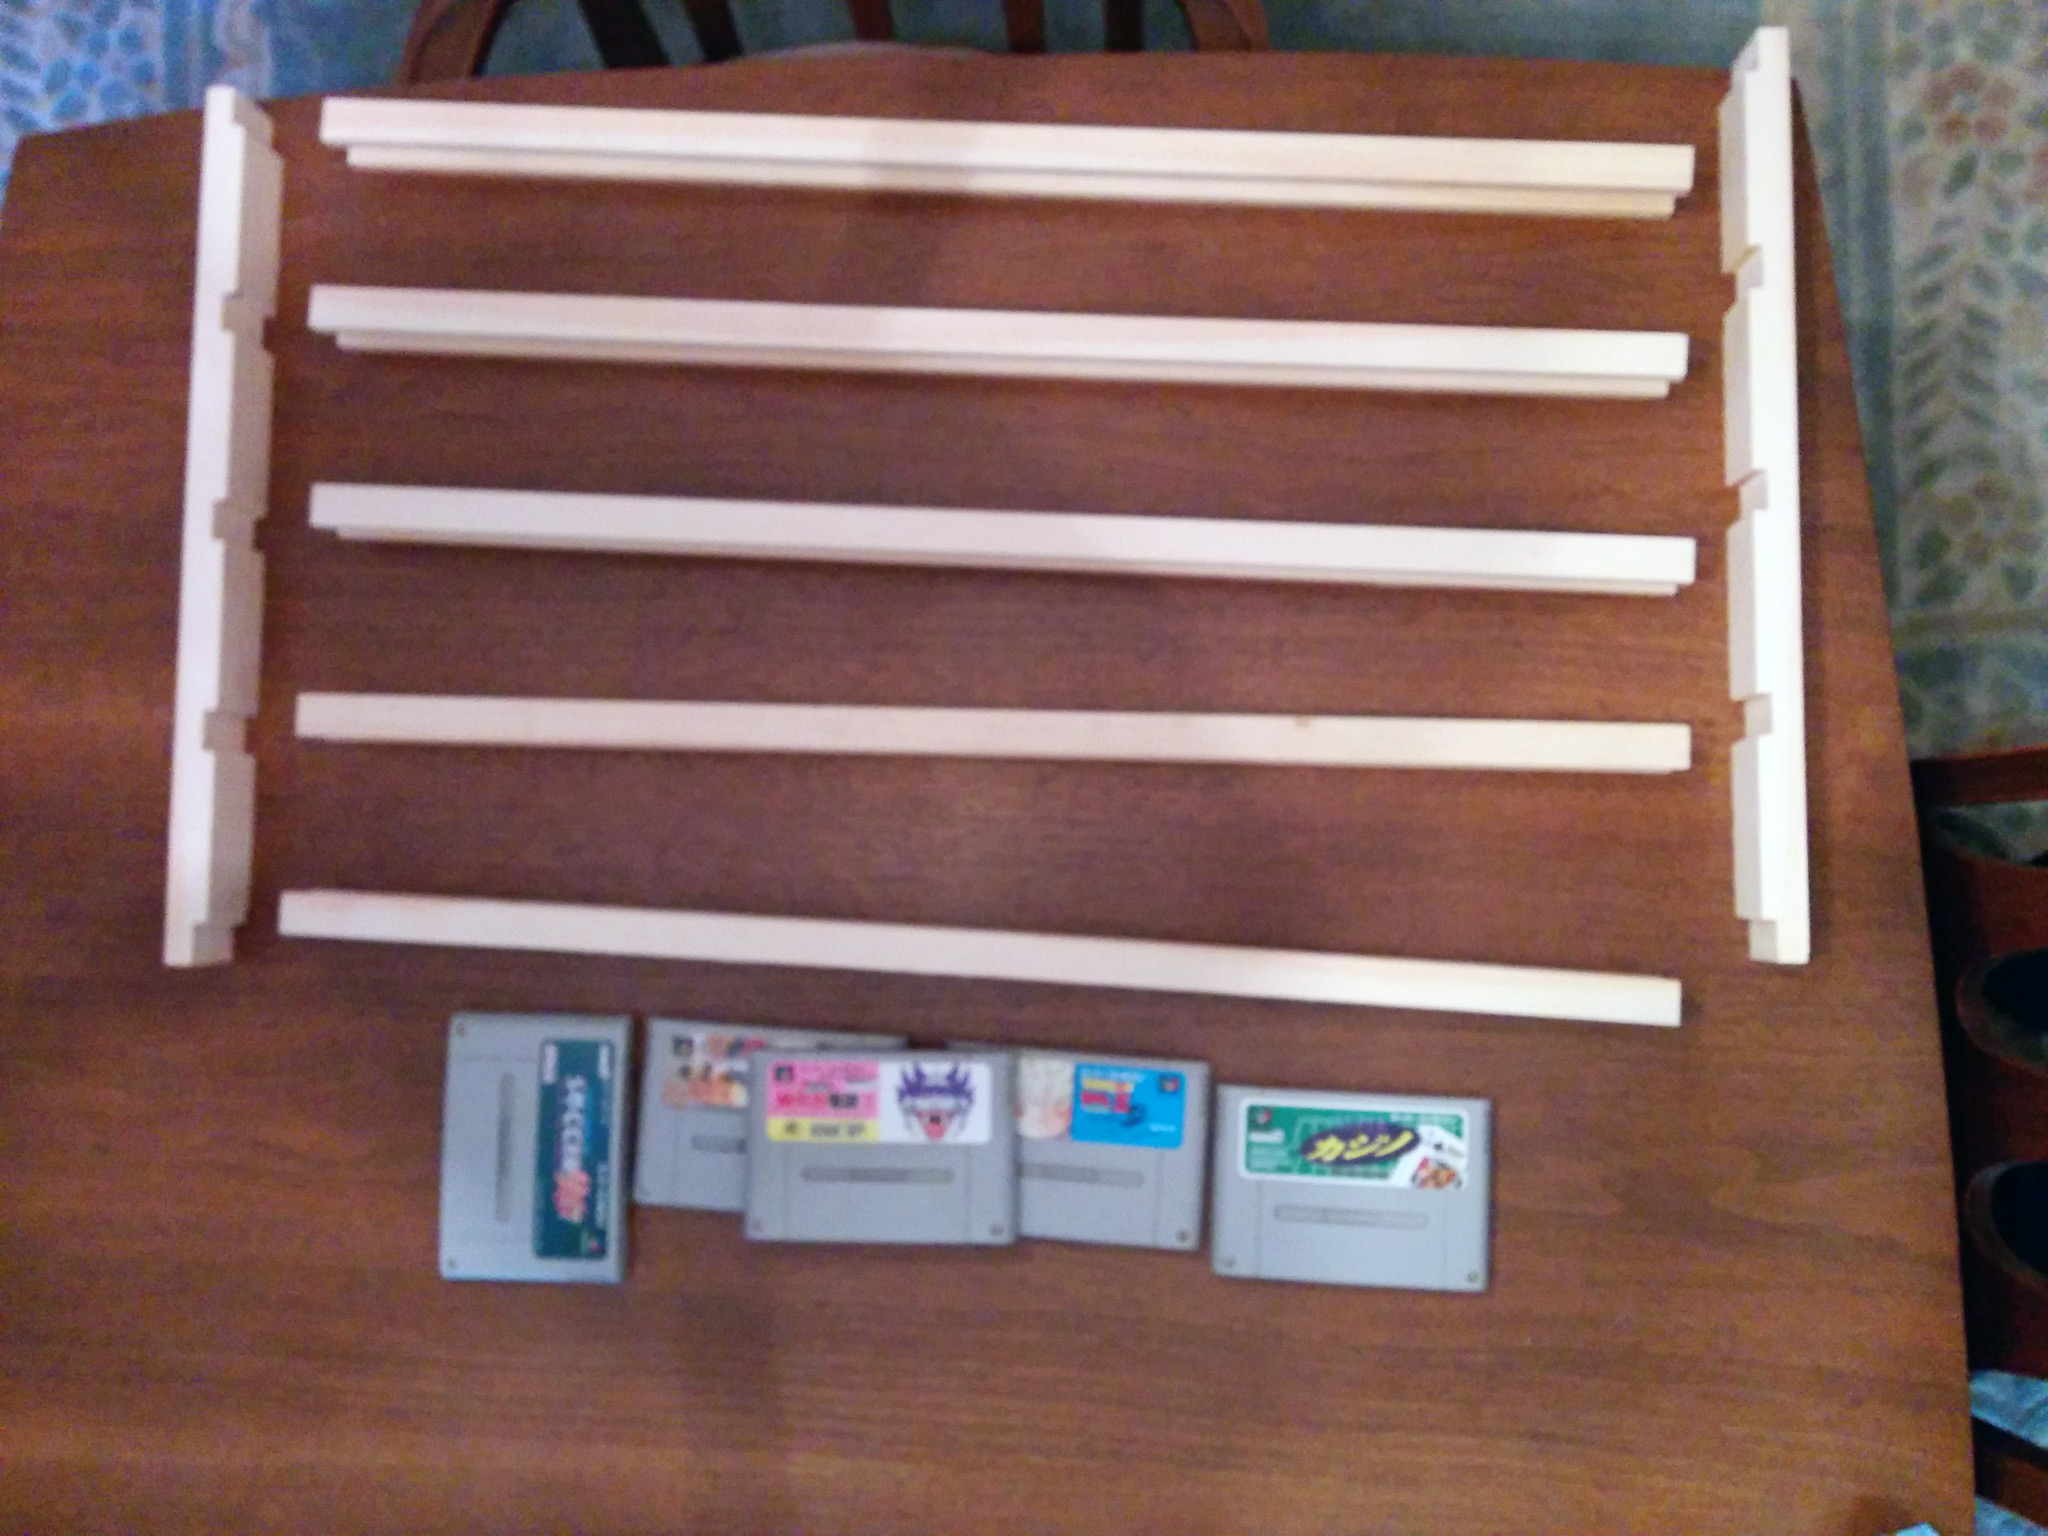
 The first dry fit works quite well. There's a little gap where one rail doesn't fit in, but rearranging which rails go into which slots made everything line up perfectly.
 Next step: put on some glue, then with the clamps! It sat like this overnight to make absolutely sure the glue was set.
 Next morning, remove the clamps and give the joints a light sanding, so they are all smooth. Especially the ends of the vertical parts, they started a bit proud on purpose, because it was much easier to just sand afterwards than to get them exactly right!
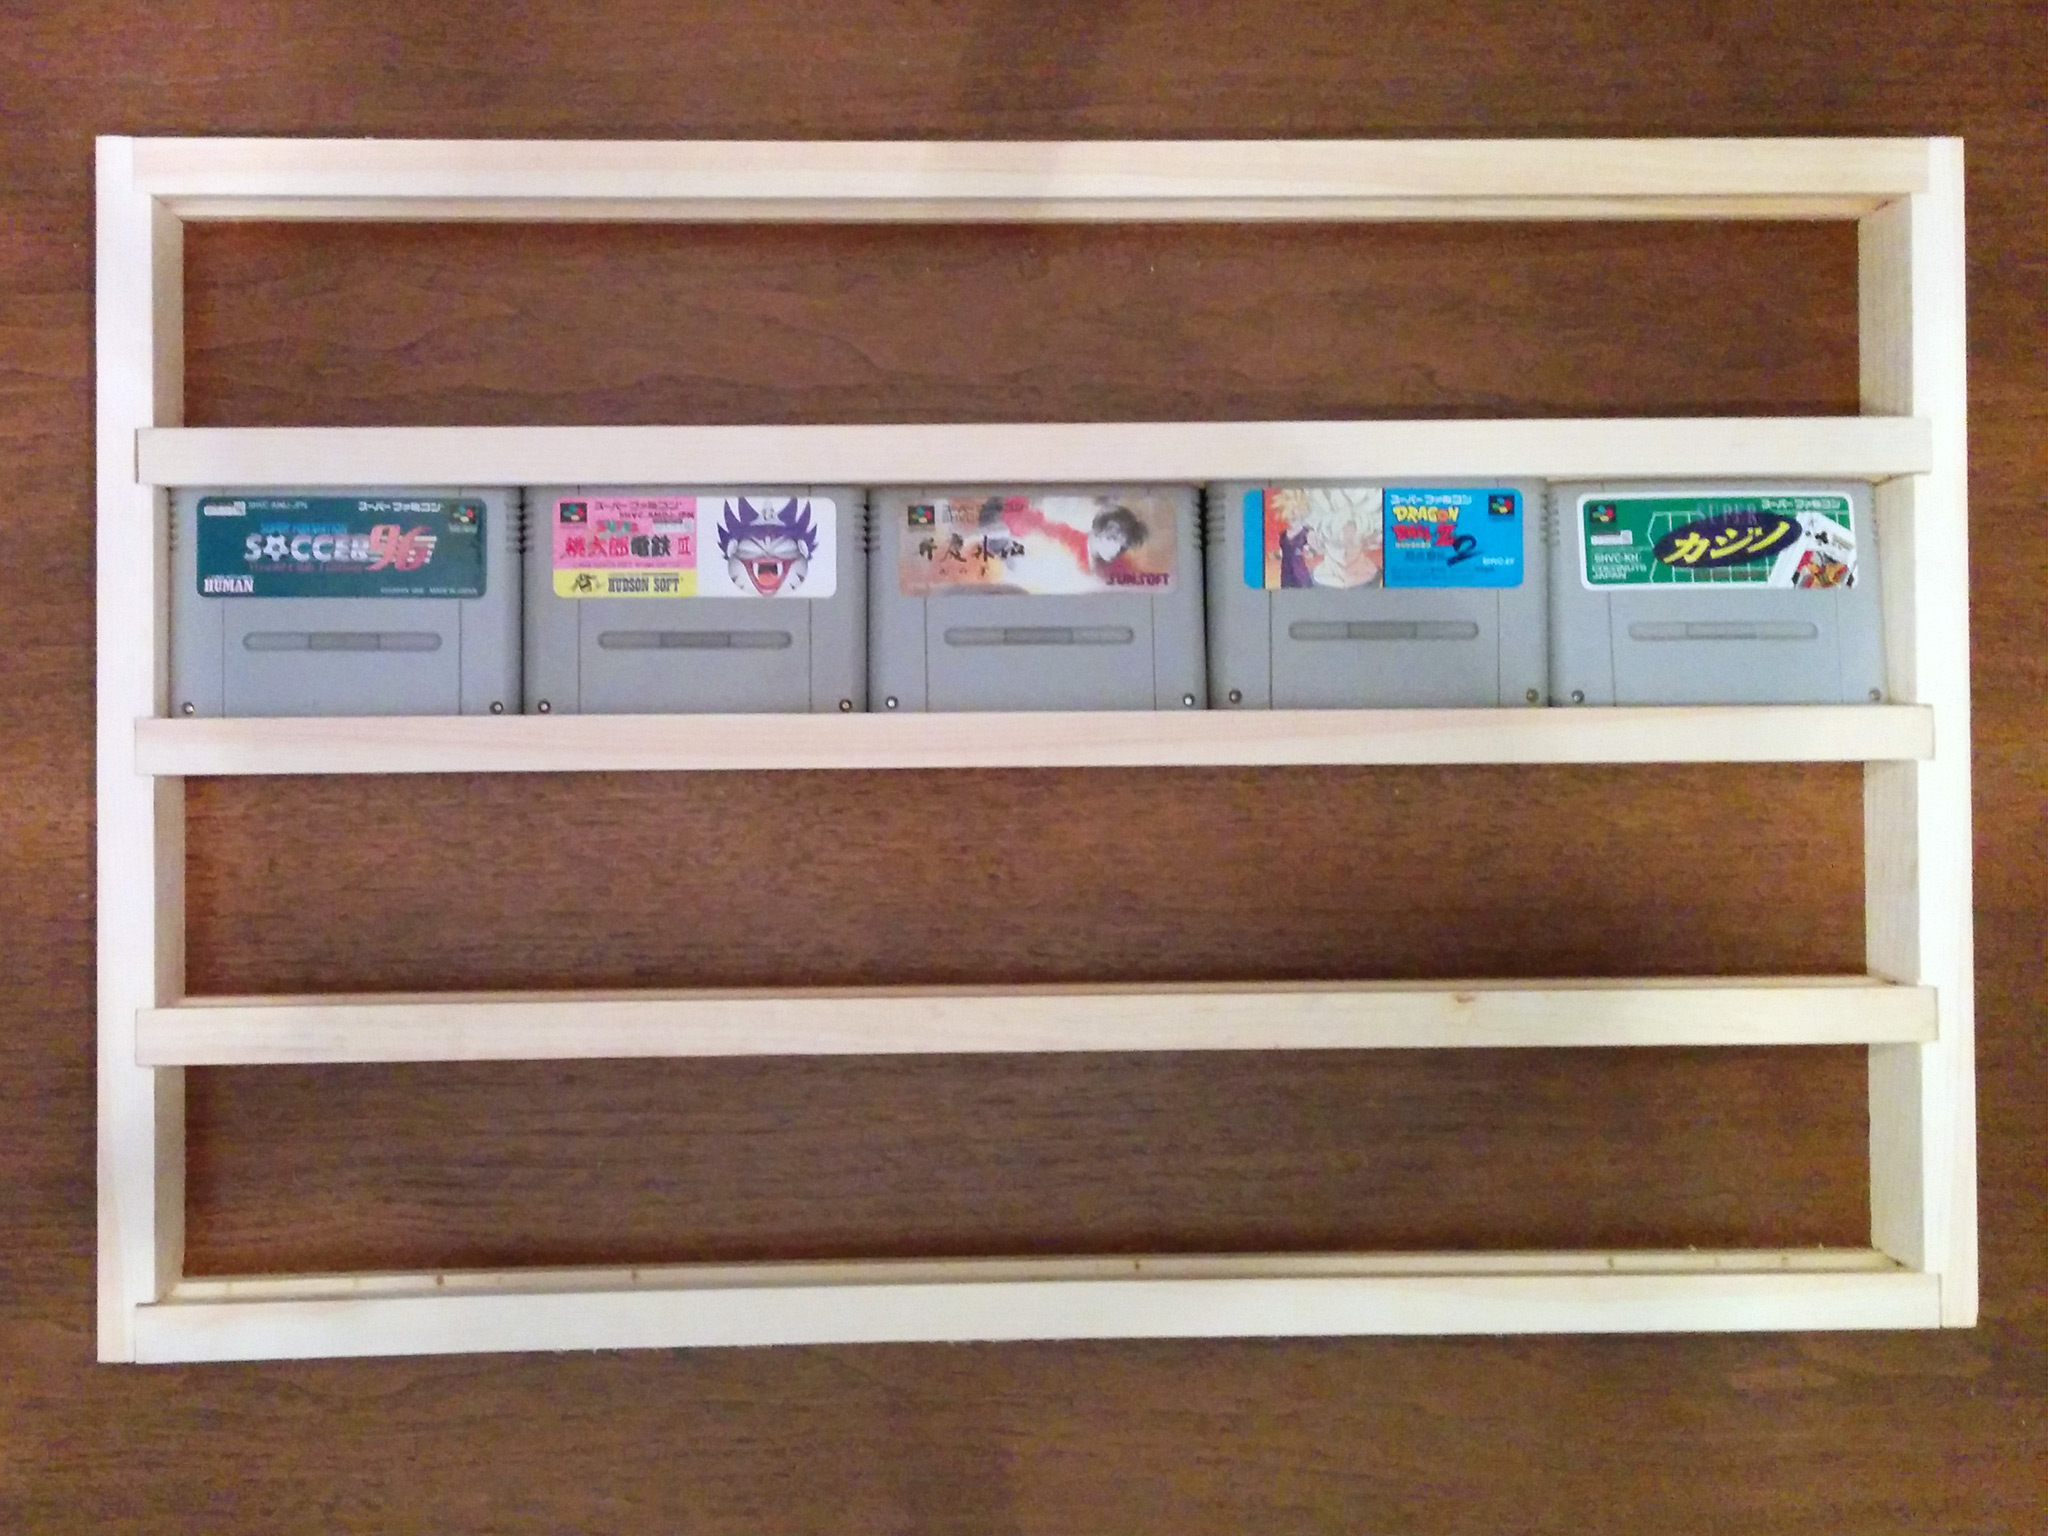
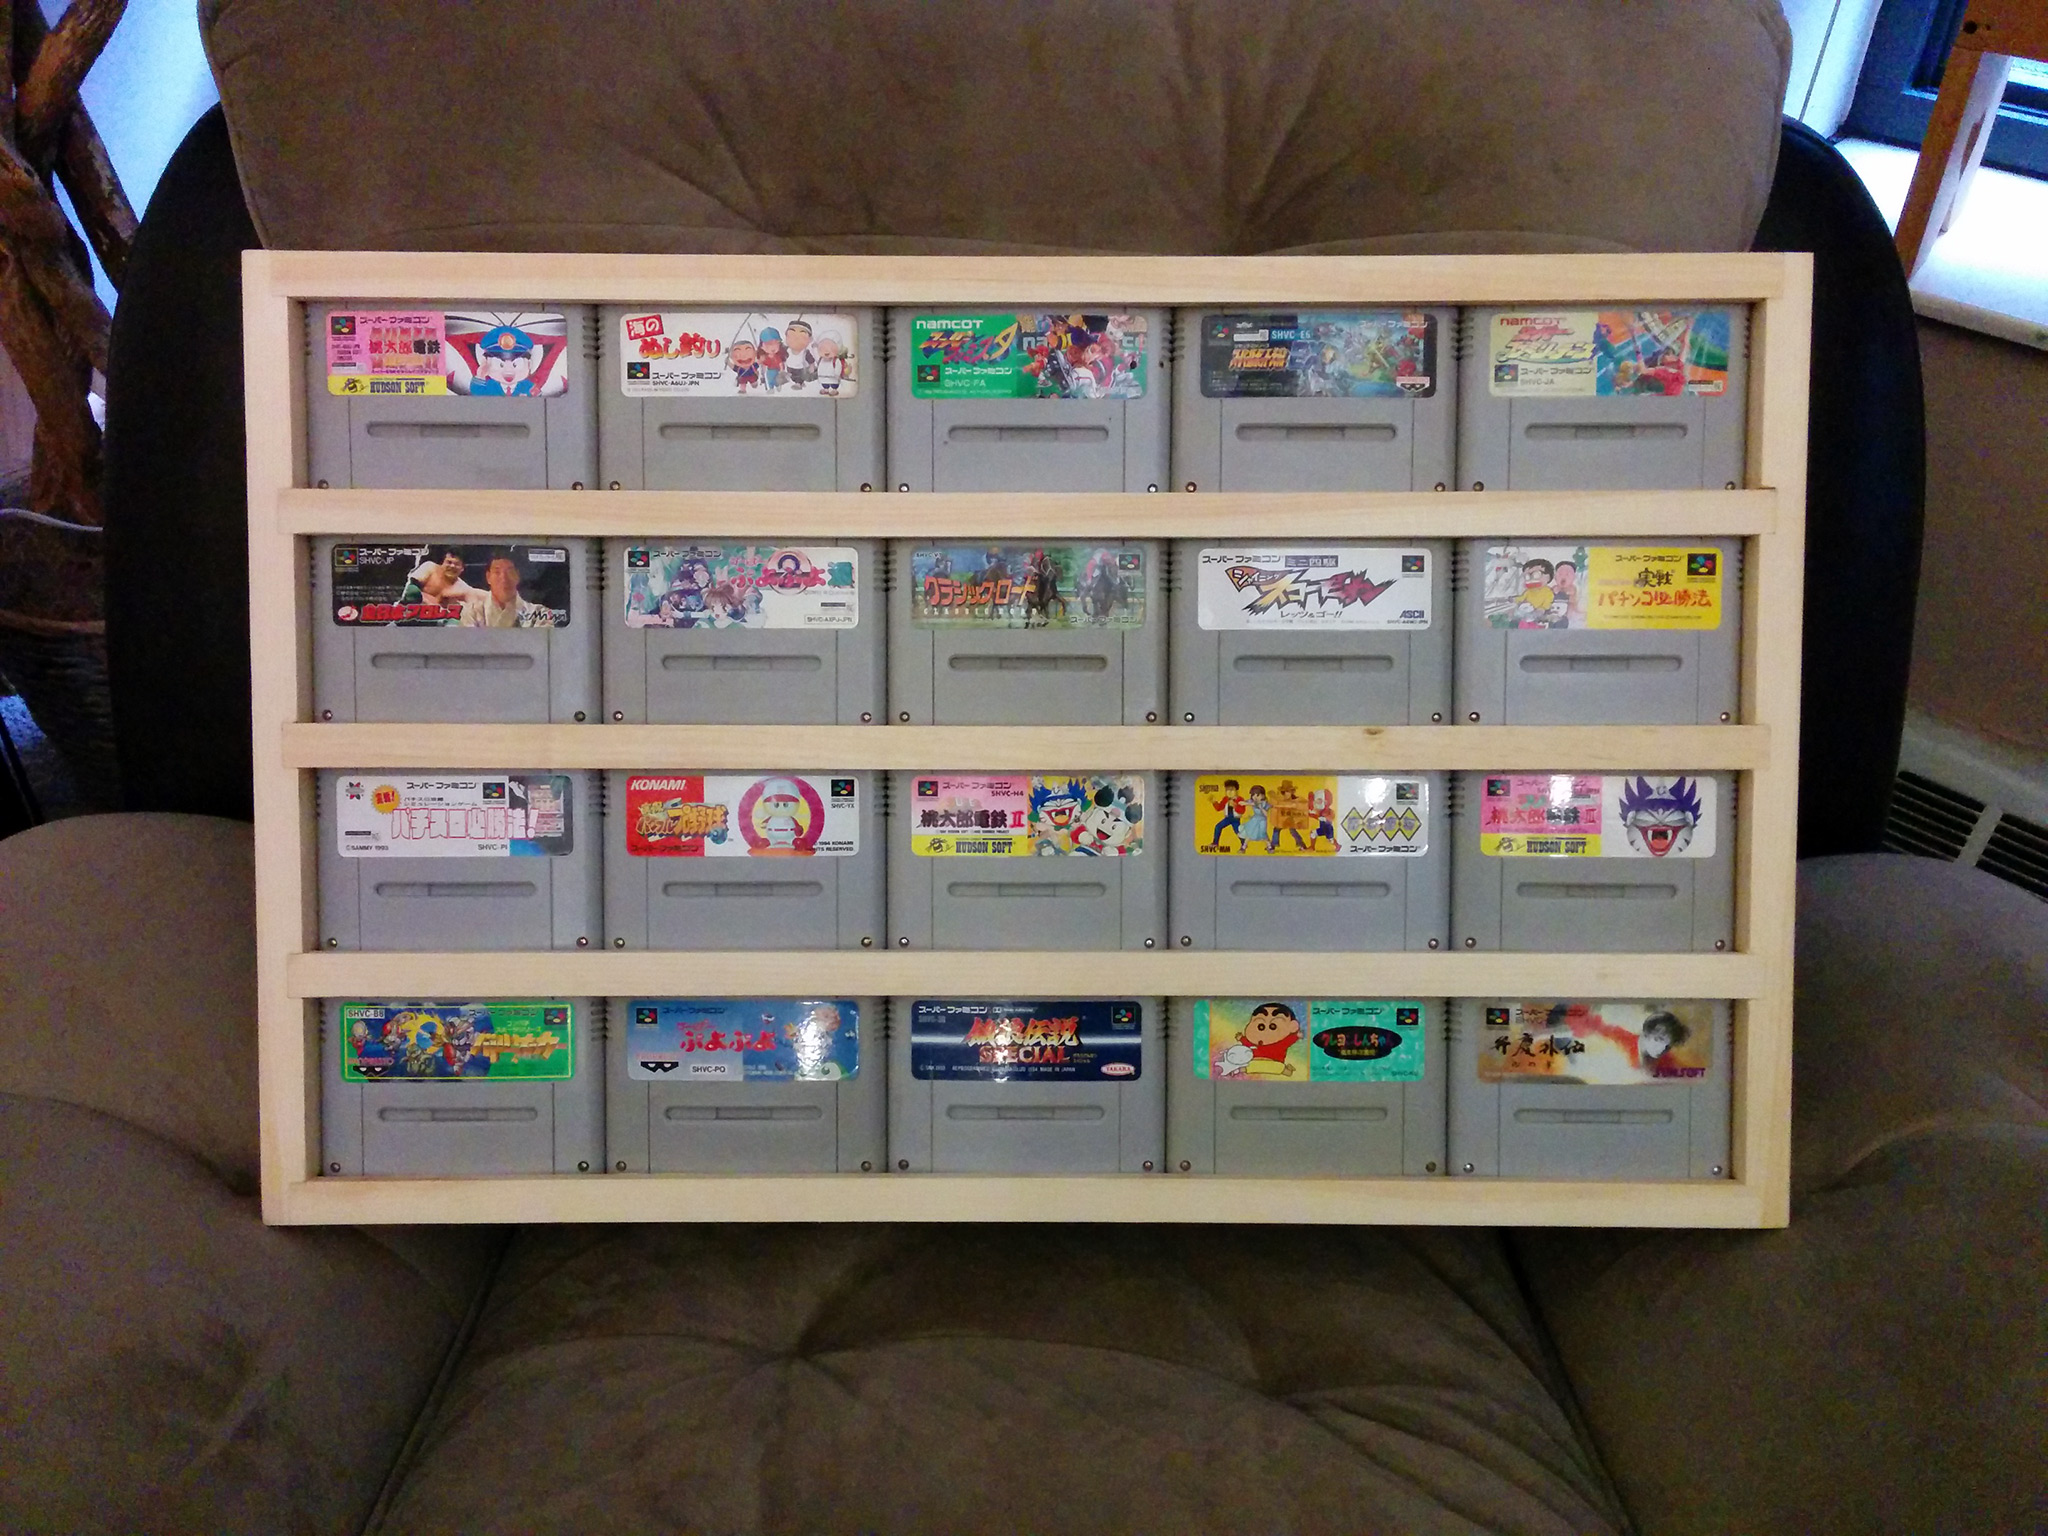 And there it is! A nice wooden frame to display some quirky Japanese video games!